You can now produce short, cinematic cartoon clips starring a stylised version of yourself without hiring animators. Two practical workflows—convert a single photo into a 15-second animated short, or map a filmed performance onto a cartoon avatar—use the same core models (GPT Image 2 for image references and Seedance 2.5 for video generation). For marketers and creators this means reusable branded characters, rapid iteration, and short-form narratives that look like studio animation.
Which workflow to pick
Pick the photo-to-film route when you need a controlled, original animated story that doesn’t require recording. Choose the video-to-cartoon method when natural timing, gestures and spoken performance matter—ideal for talking-heads, demos and personal messages.
Method A — Photo to animated short (best for original stories)
Overview: start with a single clear photo, generate a four-view character sheet for consistency, build a tight 15-panel storyboard, then render the animation from those visual references.
Step 1 — Create a reusable character sheet
Use an image-generation tool set to GPT Image 2 to produce four consistent views of the same stylised character: a full-body front (three-quarter), a rear view, a head-and-shoulders close-up, and a 90-degree profile. The goal is not photorealism but a reliable visual model the video generator can follow when the character turns or moves.
Inspect the sheet closely. The common failure mode is inconsistent identity across views—mismatched hair, facial proportions or outfit details. Iterate until the four images read as the same person from every angle.
Step 2 — Build a 15-panel storyboard
Break the short into 15 roughly one-second shots and render them as a single portrait storyboard page laid out in five rows of three panels (a 5×3 grid). Each panel should state the single second of action, the intended camera framing, and any short line of dialogue or sound cue. This discrete-shot approach helps the video model follow pacing and continuity instead of inventing transitions from a single prompt.
Step 3 — Animate with Seedance 2.5
Upload your storyboard and character sheet into the generation tool and attach a voice reference if the piece includes spoken lines. Provide concise shot-by-shot instructions that map to the storyboard panels. Run short test renders to confirm styling and lip-sync before committing to the full animation.
Practical tips
• Keep asset filenames and upload order consistent so the model uses the correct references. Typically: storyboard first, character sheet second, voice reference third.
• If lip-sync matters, attach a clear voice sample. Adding vocal reference has been shown to materially improve perceived lip-sync quality in tests.
• Iterate with short clips—two- to five-second proofs let you fix identity and timing quickly without long render times.
Method B — Video to cartoon (best for gesture-driven content)
Overview: record a short performance (recommend under 15 seconds), convert that footage into a motion reference, and use Seedance 2.5 to map your movements and speech onto a cartoon avatar.
Step 1 — Capture clean reference footage
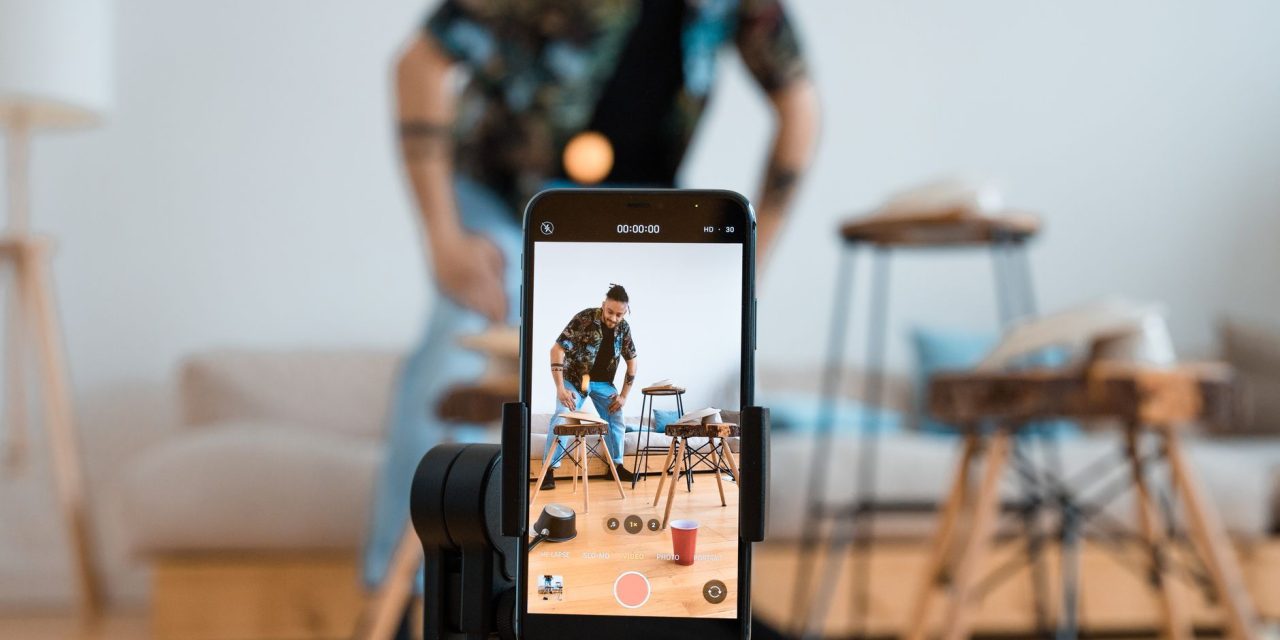
Use steady framing, neutral background and clear lighting. Exaggerated expressions and distinct gestures translate better to animated avatars because the model has clearer motion cues to match.
Step 2 — Prepare an avatar
You can reuse the four-view character sheet method from Method A or generate an avatar tuned to the filmed performance. Consistency between the avatar art and the motion reference is essential for believable results.
Step 3 — Run the conversion
Feed the recorded video and avatar references into the generation tool, select Seedance 2.5, and specify which aspects of the performance should be preserved (facial timing, hand gestures, head turns). This workflow usually produces more natural lip-sync and gesture fidelity than text-only animation, at the cost of needing an initial recorded performance.
Production checkpoints
File order and references
Upload assets in the sequence the model expects so each file is consumed as intended. Mistordered files are a frequent source of errors in multi-asset generations.
Validate identity across views
Double-check that the character sheet depicts the same identity in all four images before animation. Re-run image generation when proportions or outfit details drift.
Voice and lip-sync
Attach a short, clean voice reference when spoken performance is important. It raises the likelihood of acceptable lip sync and aligns cadence with mouth shapes.
Short tests
Generate brief proof clips to test styling, timing and mouth shapes. Fix art or timing early, then scale to the full 15-panel render once reference stability is confirmed.
Use cases, limits and rights
Use cases: character-driven social shorts, personalized marketing clips, product explainers with a branded avatar, and creator content that benefits from stylized presentation without commissioning animators.
Constraints: results depend on reference quality and the models’ current capabilities. The workflows described focus on short-form outputs; longer narratives require segmenting scenes and additional planning. Also check platform ad policies and commercial-use licensing for generated likenesses before deploying campaigns.
Next steps and what to watch
Start with a 3–5 second test render using a stable character sheet and a single storyboard panel. Use that proof to confirm identity, color and mouth shapes. Once the sheet is stable, reuse it across multiple shorts to save iteration time.
Watch for model updates and changes to licensing terms. Improvements in video-generation models will shift workflow details and quality expectations; keep an eye on changelogs and official guidance for commercial use of AI-generated likenesses.