Dreamcore clips — pastel, slightly off-kilter scenes with slow, floating motion — are consistently high-engagement content on short-form platforms. For marketing teams they offer a reliable way to create mood-driven assets that stop the scroll without heavy production: control composition and color with a single surreal detail, then animate subtly for a loopable, repeat-view clip.
This piece gives a compact, image-first workflow you can run in a day: plan the scene, generate a controlled image, add minimal animation, and edit for looping social formats. The steps emphasize reproducibility and editorial control so teams can scale the look across multiple posts.
What dreamcore is (and why it works)
Dreamcore pairs ordinary, empty locations — a school corridor, an indoor pool, a laundromat — with one clear impossible detail that makes the scene feel like a half-remembered dream. Visual hallmarks to target:
- Familiar, empty settings — absence of people creates stillness and focus.
- One distinct anomaly — clouds on a clothesline, a staircase into the sky, a road that dissolves into water.
- Soft nostalgic palette — pastels (pink, mint, pale blue) or muted tones for a more unsettling feel.
- Hazy light and texture — film grain, slight blur and diffused shadows to read like memory.
- Slow, minimal motion — gentle pushes, drifting elements, micro ripples rather than fast cuts.
The aesthetic often evokes anemoia (nostalgia for a time you didn’t live through), which helps explain why dreamcore images prompt repeated viewing and engagement on social feeds.
Practical workflow: plan, generate, animate, edit
The most predictable results come from generating a single, well-composed image first, then animating it. That reduces the artifact risk of text-to-video generation and gives you tighter control over the final look.
1. Plan the scene (keep it focused)
- Choose one recognizable location as the anchor (e.g., laundromat, pool, suburban street).
- Introduce a single surreal element — simpler concepts render more consistently.
- Decide mood (warm whimsical vs. muted eerie); this drives color, lighting and motion choices.
- If you need multiple shots, write a short shot list so each clip has a clear editorial purpose.
2. Generate the base image
Use a text-to-image model or a reference photo. When prompting, be explicit about location, anomaly, palette, lighting and camera style. Include composition notes so the model preserves your intended layout.
Example prompt to iterate from:
An empty suburban street at dawn. Pastel houses line the sides; the road curves upward into a sky filled with soft pink clouds. Soft morning light, mint-green and pale-blue palette, slight film grain, faded early-2000s digital photo look. Eye-level, wide-angle composition, no people. Nostalgic, dreamlike mood.
If you need tighter framing, upload a simple sketch and request a photorealistic rendering that follows your layout.
3. Animate subtly
Animate small, slow movements to create the floating sensation without breaking the photographic quality:
- Slow camera push or zoom toward the surreal detail or an exit point.
- Layered parallax: separate foreground, midground and background and move them at slightly different speeds.
- Micro motion for elements — drifting clouds, gentle water ripples, or a faint sway in a hanging light.
- Keep clips short and loop-friendly; 6–12 seconds is a practical range for social platforms.
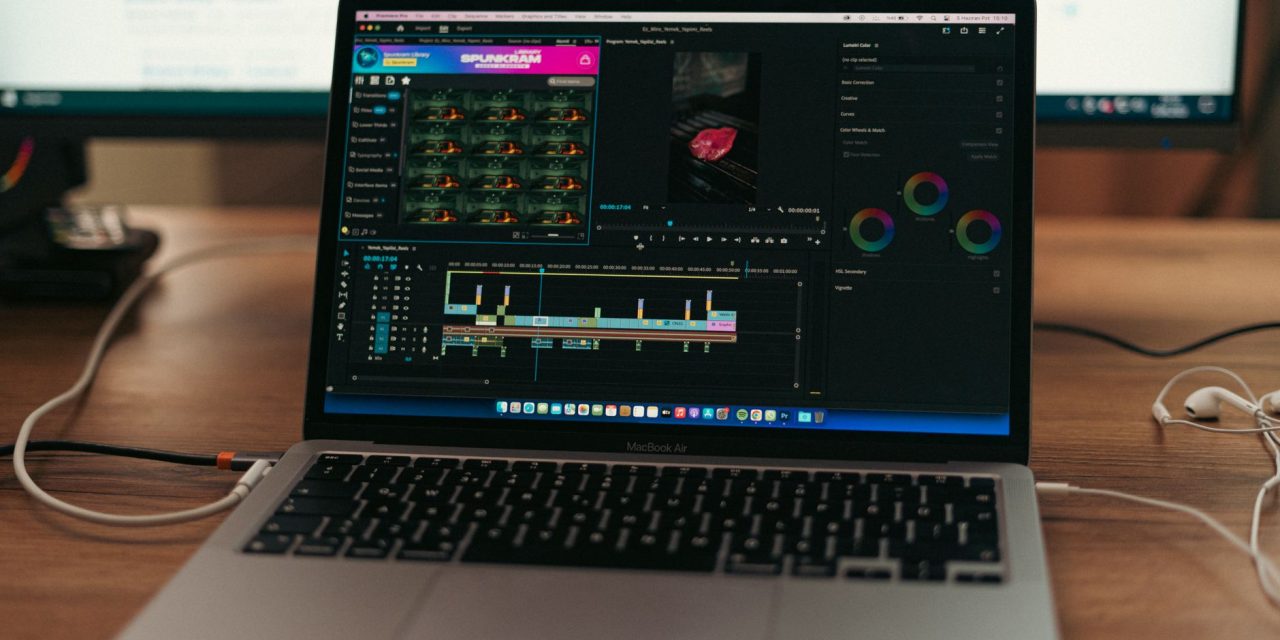
4. Edit for polish and platform
- Color-grade to a consistent palette: push pastels or mute tones depending on mood.
- Add subtle film grain, a soft vignette or minor chromatic aberration to read as memory, not CGI.
- Choose restrained music — quiet piano, ambient pads or distant synth textures work well.
- Design the last frame to loop cleanly (fade into a doorway or bright sky) to boost replay value.
Shot sequencing and framing
A four-shot structure creates a satisfying arc in short form:
- Establishing — locked frame or very slow push to set the place.
- Detail — close shot of texture (tiles, fabric) to ground the scene.
- The anomaly — reveal the surreal element with a deliberate, slow drift.
- Exit — end on a bright doorway or sky for a natural loop.
This sequence helps viewers orient themselves before the surreal moment lands, increasing emotional impact.
Next steps and what to watch
To operationalize dreamcore in your content pipeline:
- Run focused prompt experiments to lock palette and texture until outputs are reliably consistent.
- Start with single-scene, loop-ready clips before scaling to multi-shot narratives.
- Measure engagement by loop rate and average watch time — small changes in loopability or motion speed can move those metrics.
Dreamcore is an editorial choice: control composition, color and one strong surreal detail, then finesse motion and pacing. For content teams that value repeatable production processes, that sequence—from prompt to post—creates atmospheric short-form assets that stand out in feeds while remaining manageable to produce.